Caramel 3.0 - A new Beginning
For some time, I’ve been toying with caramel — that chewy, deep, sweet toffee that is so often placed as second fiddle to predictable flavors like chocolate or coffee. You can find it in sauces, candies, sweeteners and a whole array of culinary affectations.
How I got here.
As my yearning for better caramel developed, I started reading more and more about the science underlying caramel, and slowly came to the realization that there are two fundamental truths.
- Almost everything you’ll read (recipes, explanations, and ‘science’) about caramel was written by people who have apparently been merely replaying the bad data from previous source.
- Everyone in food science thinks they are an expert on caramel. This is not the case. Fortunately, there are a small handful of exceptions.
Well then. Let’s examine what’s wrong.
Wikipedia’s article has some woefully painful information:
The process is temperature-dependent. Specific sugars each have their own point at which the reactions begin to proceed readily. Impurities in the sugar, such as the molasses remaining in brown sugar, greatly speed the reactions.
This, it turns out is complete fiction. Sugars effectively caramelize at much lower temperatures. Worse, contaminants like molasses, don’t speed the process, they outright ruin it.
This brings me to my first two rules of caramel:
1. Begin with pure, untainted white sugar.
No brown (which is just white sugar with molasses), no “raw” sugar, no combinations. Just pure white sugar will produce the full breadth of caramel flavor with predictability and consistency.
2. Caramelization of sugar is simply a factor of heat and time.
The more heat, the less time, but the more time, the less heat is required. High heat (> 230°F), is a fools errand, and best left to the fools who perpetuated that myth.
It turns out that 200 °F is plenty enough to caramelize sugar quite well. Better yet, at lower temperatures, you’ve got a lot more room for making fixing mistakes before you create unrecoverable slag.
Want some proof? Go read the rather excellent article by Stella Parks on Toasting Sugar. Ms. Parks reveals the secrets of the universe, most notably that sugar doesn’t melt, in undergoes thermal decomposition. She lays it out rather clearly:
Scientists have a better grasp of quantum mechanics than of caramel, which is still poorly understood. But in 2011, a team of researchers finally established that caramelization is a product of thermal decomposition, not melting (you can read the paper here). Not only that, they determined that it’s technologically impossible to document the melting of sucrose independent of caramelization.
Near the beginning of my quest for caramel, I took a can of condensed milk, placed the contents in sealing jar, and submerged it in a water bath, and cooked it sous-vide style with my immersion circulator for 48 hours at 186 °F. The result was a sweet, spreadable caramel that had some interesting character, but not what I would consider to be stupendous. For certain, the sugars in the condensed milk have been caramelized, but that wasn’t the whole story.
Digging deeper, I’ve found that caramel’s complex flavor is not merely the expression of caramelized sugar. If it was, you’d be able to caramelize sugar and get that very deep flavor from the sugar alone.
I’m thinking that that caramelization’s cousin, the Maillard Reaction has been joining the fun, and offering it’s help to produce flavor and texture. The Maillard reaction is a different form of non-ezymatic browning, similar to carmalization, but works with the interplay of proteins and sugar when heat is applied. Of course, just like the information on caramelization, this too has been fictionalized; Wikipedia attempts to explain that the Maillard Reaction happens from 280°F to 330 °F. If that was really the case milk would not be browning when cooked at 186°F.
Which brings me to the next rule of caramel:
3. Milk is important to caramel as sugar is.
Time and heat will play with milk (cream, milk and butter) in interesting ways, just like sugar. High heat will wreck it, but luckily, keeping things in the right zone is super easy.
Flavor is one half of caramel; the other half is texture. During my adventures, I’ve made the whole gamut of caramel; some that are hard as rock, some came out so thin, it was hardly worthy of the name ‘sauce’ .
Virtually every factor has some impact on texture, which makes it the greatest wild-card in this game. Time, temperature, sugar, fats, proteins and moisture all get a say, and every time I tweak something, I get a new outcome. Lucky for me, my mistakes teach me more than my successes.
One time, I had some caramel that I made that came out really soft and pliable — strong enough to stay together and not flow, but so very malleable. Kindof like a play-dough. Not sticky or grainy, just … pliable. I had used a bunch of butter, and a the time, thought that maybe it was too much. Not really any way of removing butter, right? After that, I resisted putting in too much butter.
I wrapped it up in a some parchment paper, and tossed it in a cupboard. There it sat for about 8 months, I pulled it out, and thought let’s see what I can do with it. I tossed it in a non-stick pan, melted it up and cooked it a bit and watched the steam rise out of it. After about five minutes of stirring, poured it out onto a baking sheet lined with parchment paper and let it cool.
Booooom! It was chewy, but not hard. Simply melting it and releasing some of the moisture turned a failure into something completely edible. On subsequent experiments, I varied adding water and cooking it off, and came to the conclusion that, as long as the other variables are right, you can fix mistakes by cooking the caramel longer or just adding back some water to bring it back from hard-candy. Butter was more important than I thought, and that got me experimenting with cream and milk too.
Which brings us to the next rules for caramel:
4. Fats are very necessary to give the right texture.
Butter is a great place to start, but heavy cream and milk also work wonders in the pursuit of a nice mouth feel.
5. Moisture can be added or removed at any time to achieve your goals.
By varying the milk/butter/cream ratios, you can end up with something that in the end, can be easily tweaked by warming it up and the application or removal of bit of water. You can also extend the caramelization process by just adding more water and letting it cook off. The water will evaporate and the sugar will continue caramelizing further. As we round the corner towards the end of this journey, we have one more aspect to play with — who gets to play second fiddle to our caramel? Clumsy heavy-handed flavors like chocolate and coffee have been bullying caramel for years; it’s now time for caramel to call the shots.
6. Vanilla is always required.
When sugar is on the menu, vanilla should never be far behind. As you approach the end of caramelization, you’ll want to bring some vanilla into play to provide depth to the flavor. Providing it too early produces no appreciable value, and will break down or evaporate the vanilla flavors too much. At that point, you’ve got an awesome caramel; you don’t have to go further. But you’ll want to. I’ve started experimenting with some upgrades. The first that I’ve fallen in love with is ginger — adding a bit of ginger juice at the end produces a caramel that will delight. The second, is a cayenne pepper. In the right quantities, it adds such a pleasurable heat without derailing the flavor, you’ll be completely surprised.
Finally, the recipe
This is my 3.0 version of my recipe, tweaked and honed over a lot of time. Previous versions experimented with brown sugar, honey, molasses, water, and other variations of the ingredients here. I experimented with time, temperature, equipment and processes.
I’m not going to tell you that I have the best caramel; I can only tell you that this version is finally something that I’ve found worthy to share.
You can scale this recipe up as much as you’d like. I generally do a double batch at a time, and it’s just as easy. I’m listing this in weights as opposed to volume, as I’ve found that consistency is driven from accuracy.
Note: caramelization at ~220 °F takes about 2 hours. You don’t have to stand and mix this non-stop for that time, but you do have to be there and keep an eye on it over that period. Turn on the TV and keep one eye on the pan.
 Ingredients (double batch)
Ingredients
8 oz butter (two sticks)
24 oz white sugar (about 3 cups)
6 oz (by weight)of heavy cream (about 3/4 cup)
9 oz of corn syrup (about 3/4 cup)
24 oz of homogenized milk (about 3 cups)
and at the end
2 tablespoons vanilla. (at least!)
Hardware
Wide non-stick pan — I’ve found that this is best done in a large non-stick pan, and not in some sort of pot. The wide pan that I use provides plenty of surface area for controlling evaporation, and being non-stick, caramel slides off easy as can be. I have a 14” wide pan that is just wonderful.
Silicone Whisk — you’re going to be stirring in non-stick pan, you’re going to want something that’s not going to wreck the non-stick surface. A silicone whisk is great for that, failing that you might get by with a silicone spatula, but it’s just not the same.
Sheet Pan with edges — the caramel gets poured into a sheet pan at the end. Edges make it so it doesn’t flow off the side!
Parchment Paper — caramel doesn’t stick to parchment paper. You’re going to line the sheet pan with it. What? You have wax paper, will that do? NO. Don’t be that guy.
Instructions
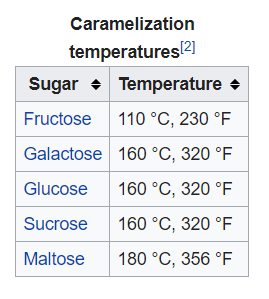
Start the pan heating on medium heat (you can be on the high side of medium to start, but probably want to turn it down once we’re boiling), and start adding the ingredients, except for the vanilla. You can let the butter melt a bit, but don’t let it brown before you get the ingredients into the pan. You don’t want that butter to go off and start Maillard’ing without the sugars.
 Get all the ingredients in the pan! (Well, not the vanilla!)
Stage 1: Thin, but the butter keeps separating (about 0:10 )
 Stage 1: After about 10 minutes, it’ll be all liquid.
Keep it on medium heat and mixing this together. The fats in the butter will keep wanting to separate, but that’s OK. We’ll keep mixing it back in.
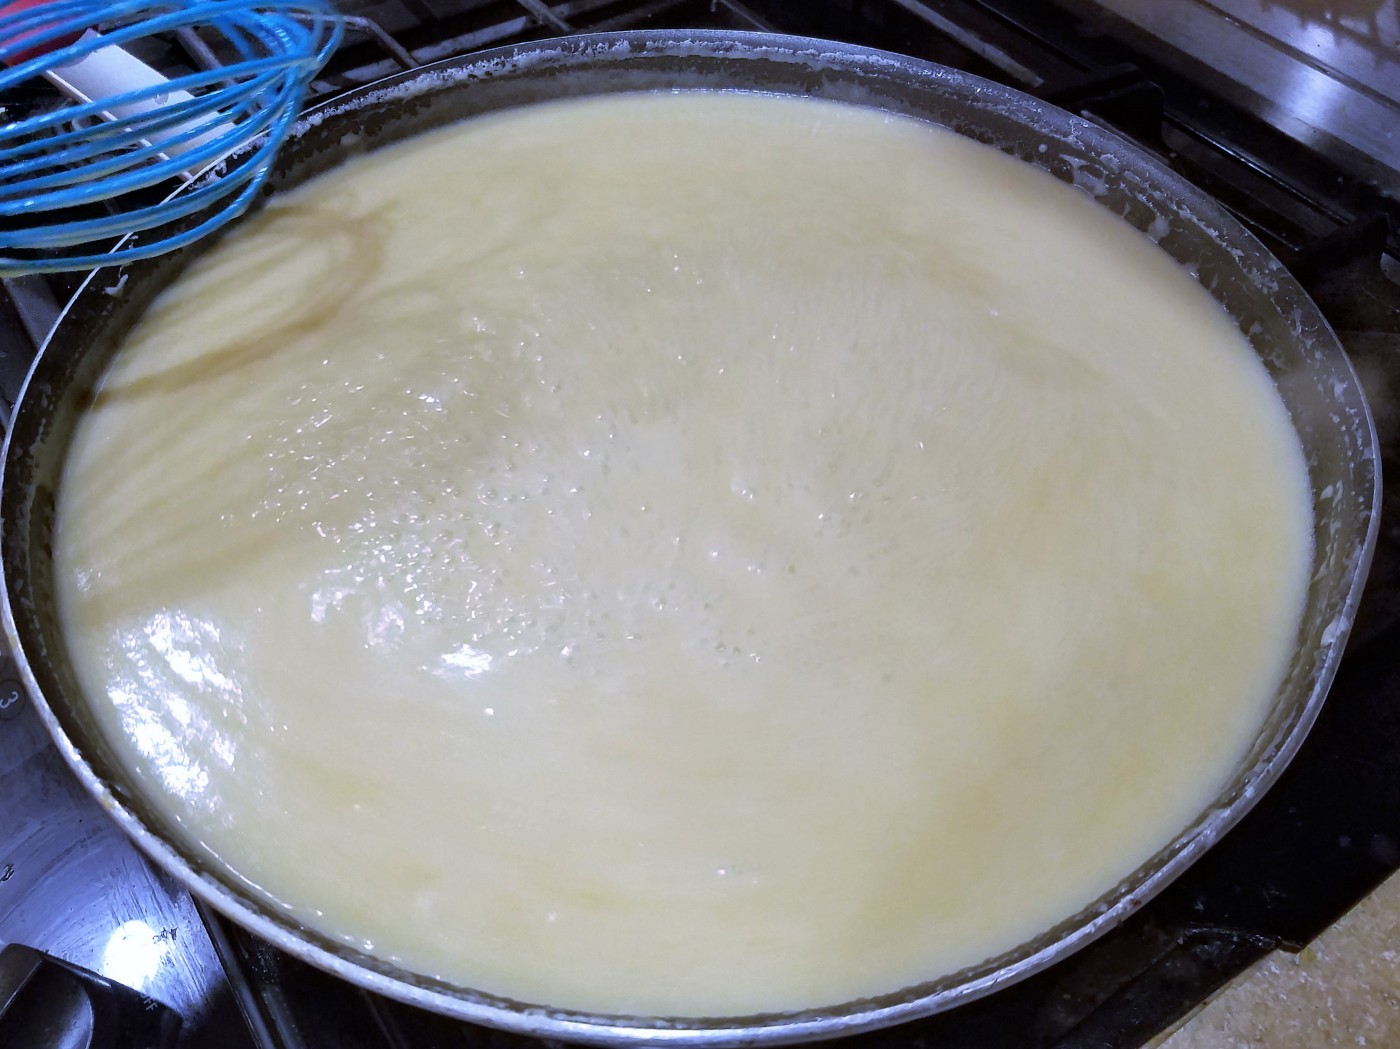
Stage 2: Boiling (about 0:20 )
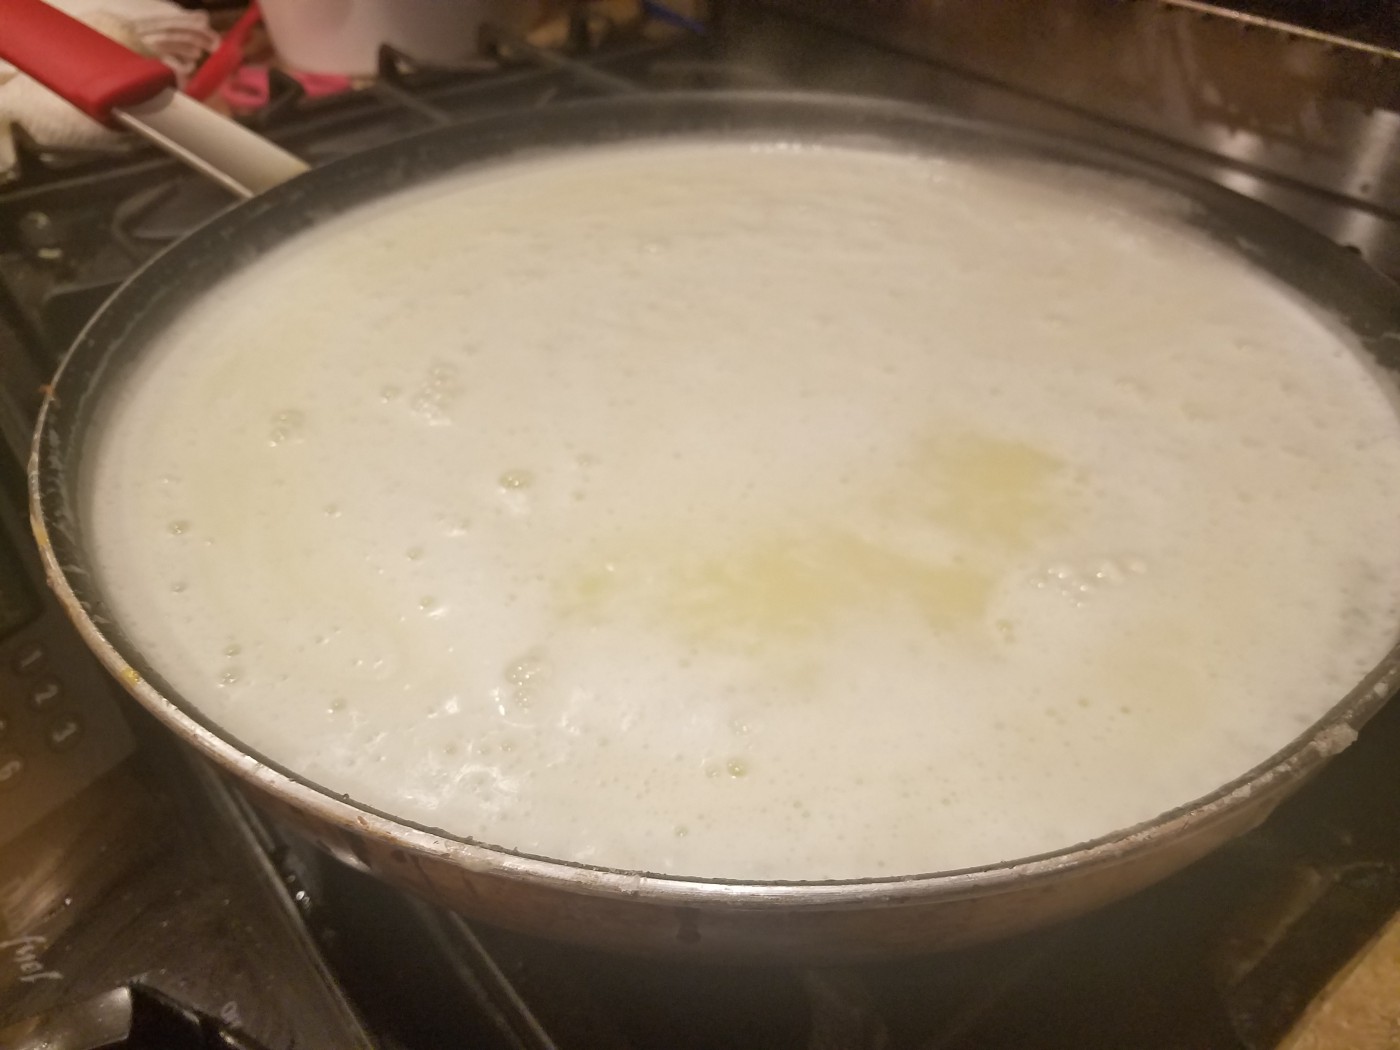 Stage 2: Starting to boil
When bubbles start to appear, you’re starting the boiling process; That’s good. It’s a good indication that we’re between 210°F -220°F . We’re looking for a simmering boil, not rolling. Don’t try to accelerate this by getting it too hot. Just a nice slow boil.
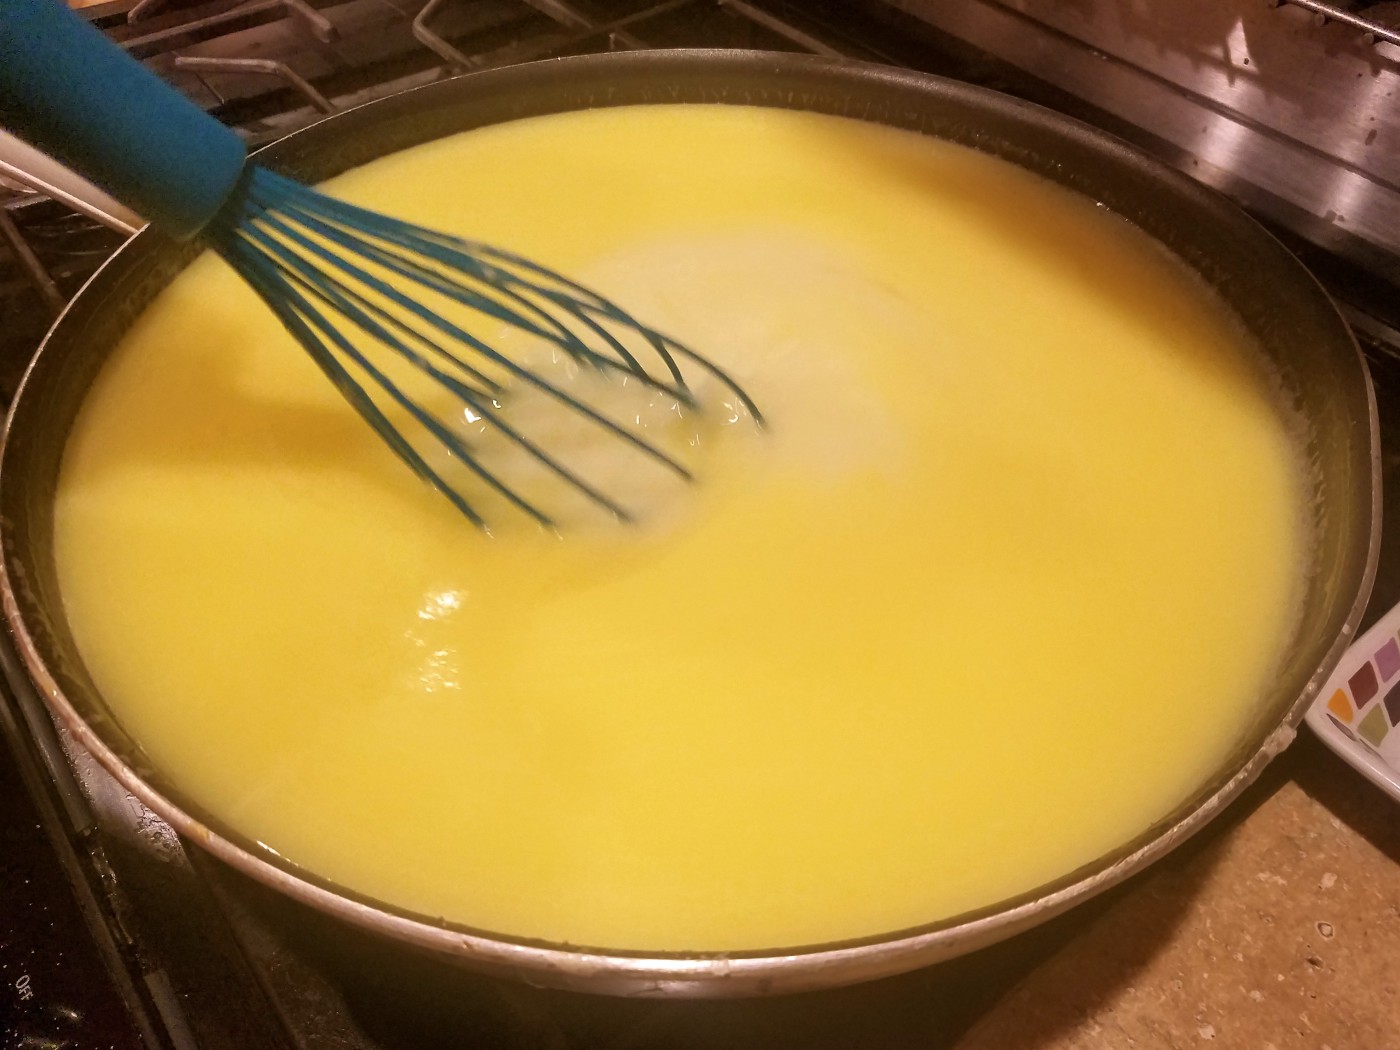
Stage 3: Foaming (about 0:25)
 Stage 3: The butter sticks in, but it’s foamy
You’re going to notice that the milk solids start to float to the top, and you’ll have a lot of white froth. That’s good, that shows that everything is working fine. Keep stirring it back in.
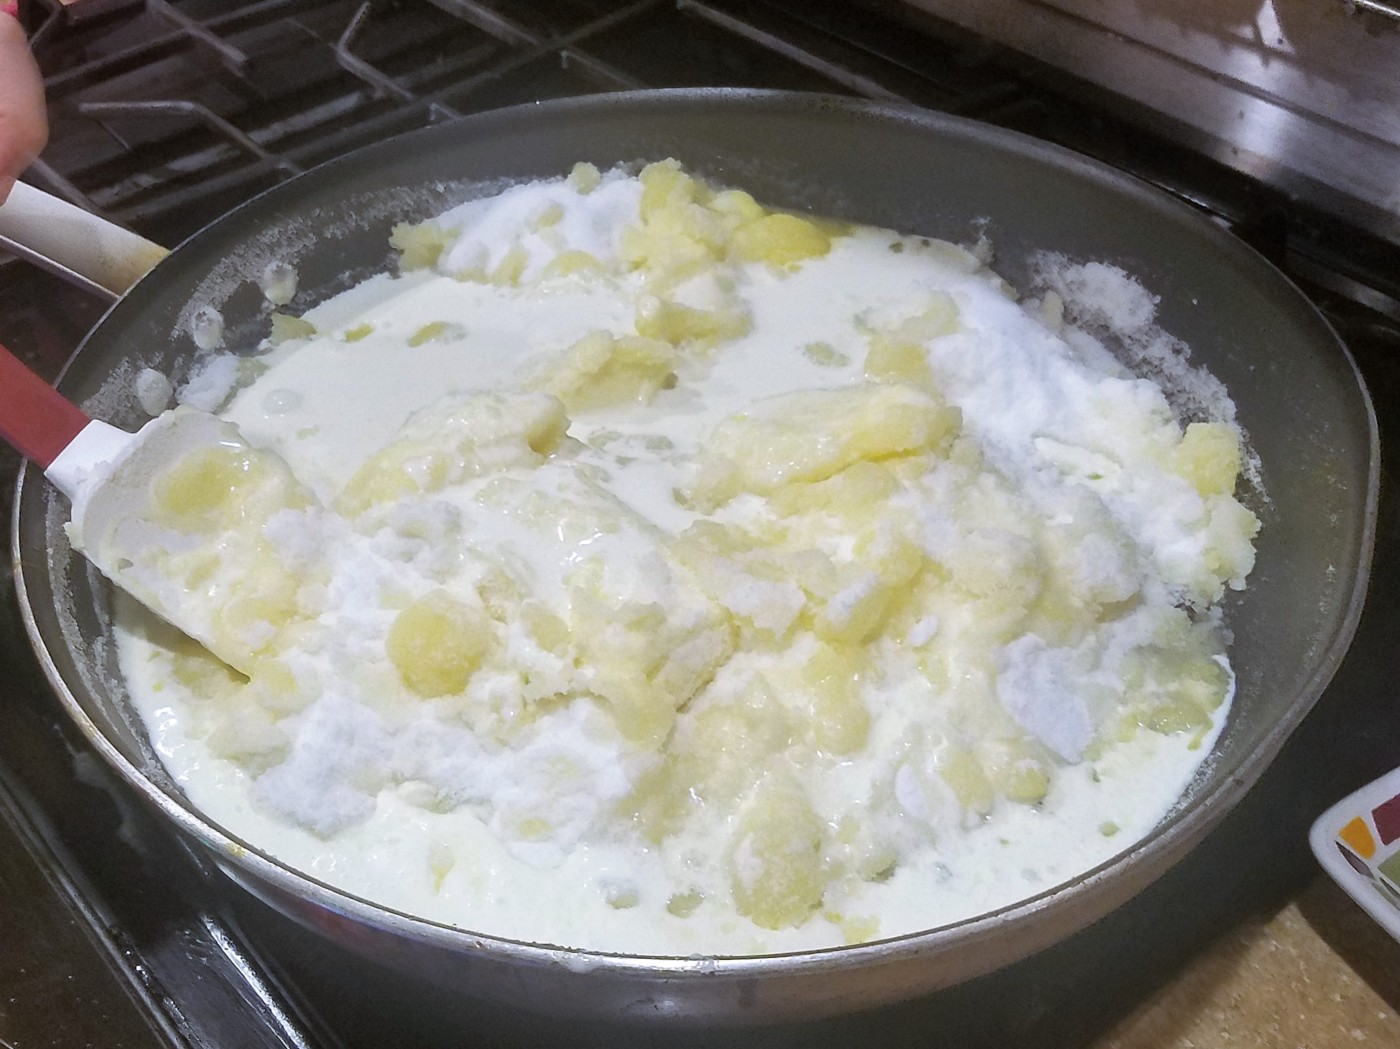
Stage 4: It’s turning color… (the long stage, until around 1:55 )
 Stage 4: Starting to change color. (55 minutes in)
Over the next hour or so, the color is turning deeper brown, and it’s making good progress. You’re caramelizing now!
 Stage 4: Deepening Color (90 minutes in)
Stage 5: It’s caramel! (around 2:00)
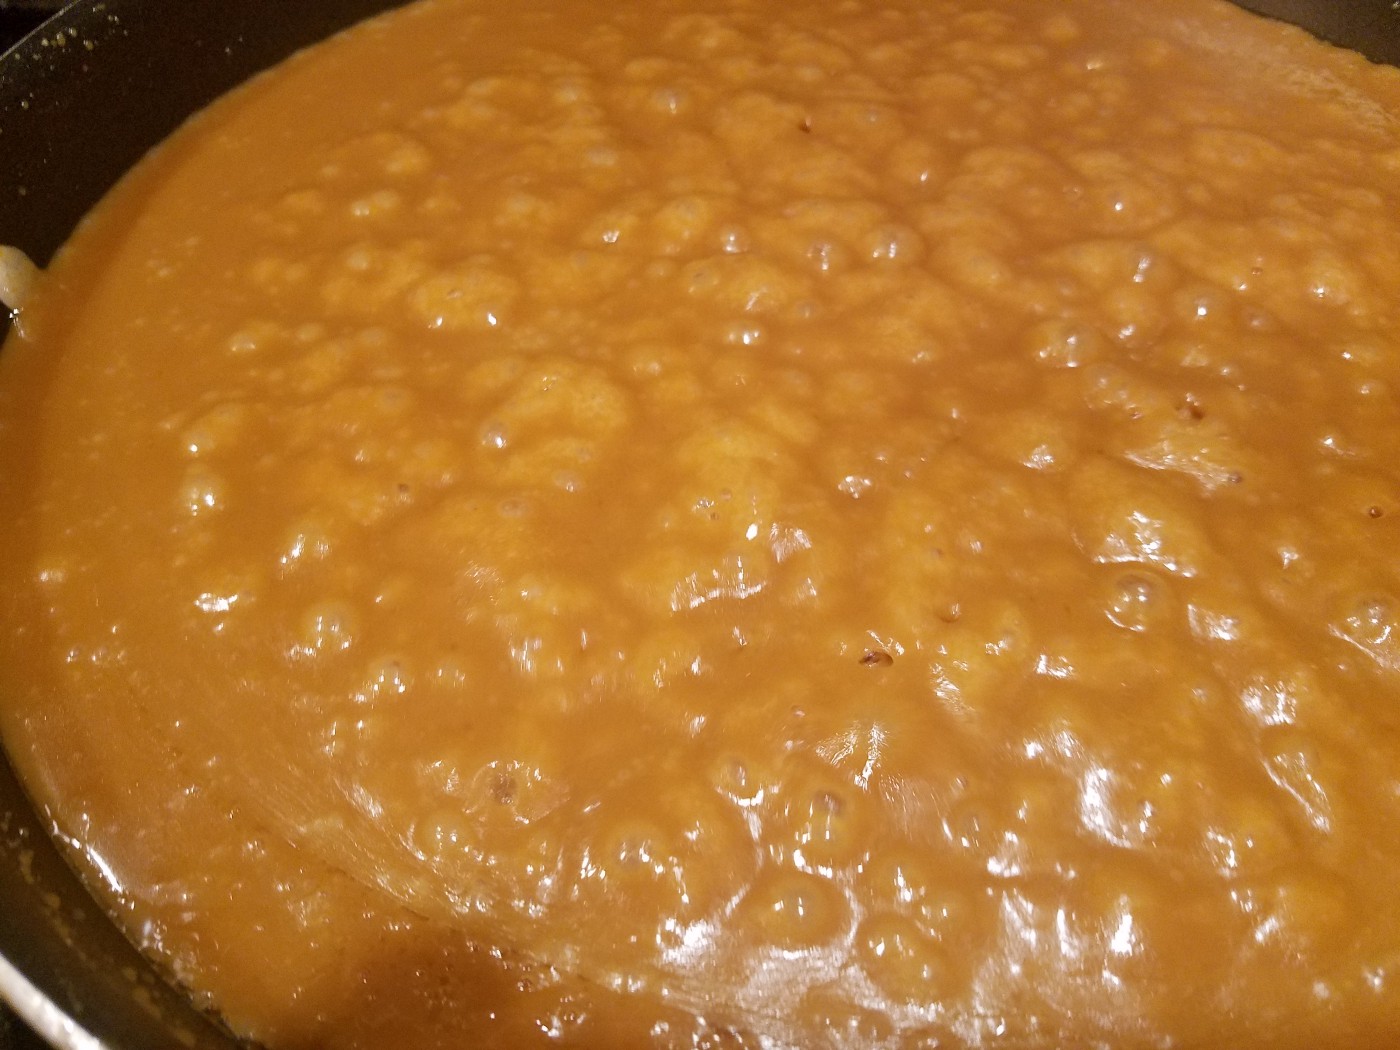 Stage 5: Caramel — Around the two hour mark
You’re going to get to the point, where the color and flavor are pretty darn good, all that’s left it to evaporate the moisture to where we want it. The hard part is that this is tricky to know what state you’re going to get the caramel when it’s room-temperature.
You could pull it off here and have a pretty nifty caramel sauce, but sauce is for quitters!
I use a spoon and a glass of ice water, dip the spoon into the pan and place it in the water. Wait a minute or so, and then see how hard it is. Pay attention to the temperature and compare it to room temperature when considering it’s hardness.
Another way to see is try to pick some up out of the pan with the whisk and see if it sticks a bit. It definitely needs to stick to the whisk if it’s going to be solid.
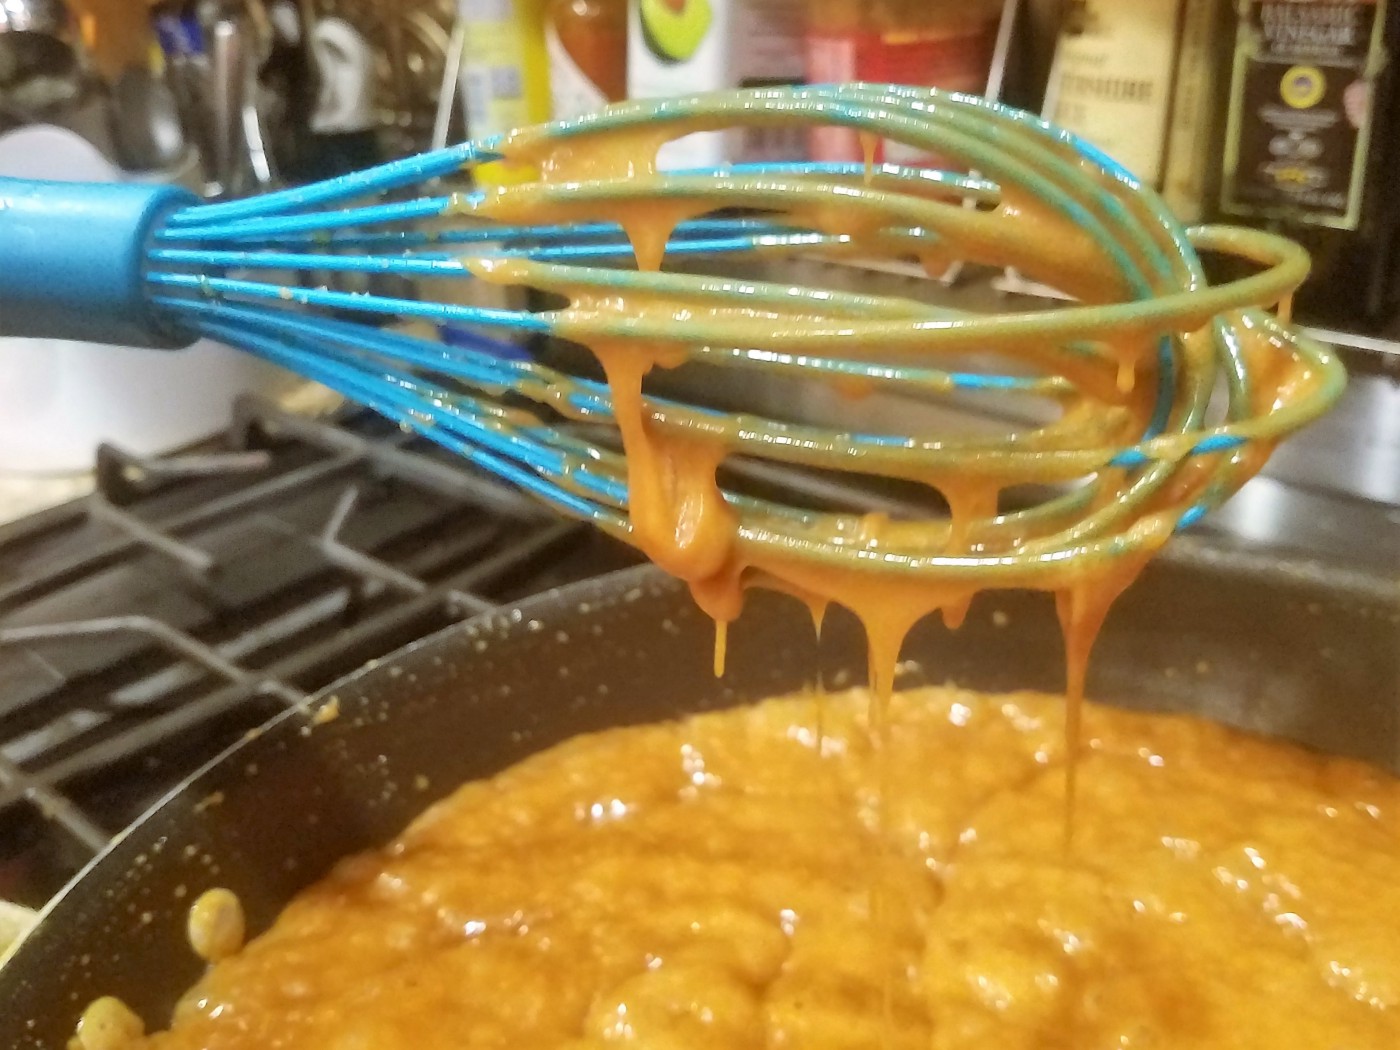 It’s staring to stick. Pretty much a good time to pull it out.
This is a point that requires practice to get just right, but no worries, if you end up a bit soft after it’s cooled, you can put it back in the pan and take a bit more moisture out. If it’s too brittle, you can put it back in the pan and add more water to balance it.
It’s at this stage you want to mix in the vanilla, or other flavors if you’d like. I tend to splurge and go heavy on the vanilla (probably about 4 tablespoons or so), but 2 tablespoons is what I’d call a bare minimum.
If you’re trying out an add-on flavor like ginger, I use pure ginger juice and put about 1/3 cup in.
Cayenne pepper is another popular choice, but that stuff is a lot stronger. A tablespoon or two at most is lots!
 It’s in the pan! (the bubbles are a good sign that it’s pretty thick)
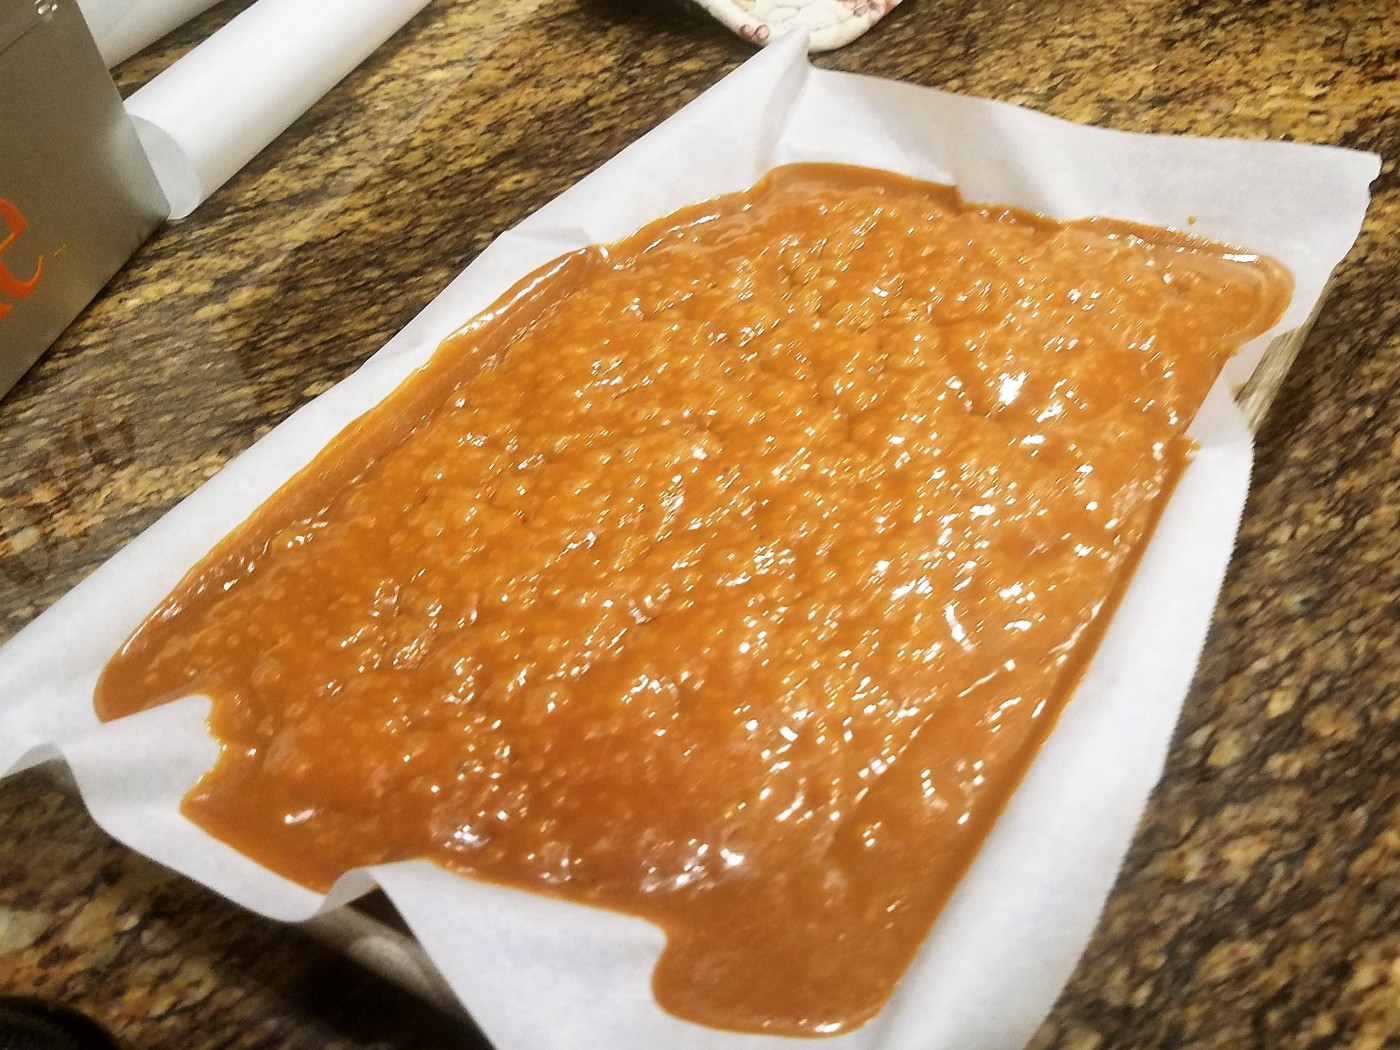
Stage 6: Cooling Once you’re happy with the look of the caramel, get your parchment-paper lined sheet pan out and pour the caramel into the sheet pan. Place it some place cool to firm up. Putting it in the fridge for a bit is ok, but don’t freeze it, that’s a bit too fast, and you’ll often get the fats seeping out too much.
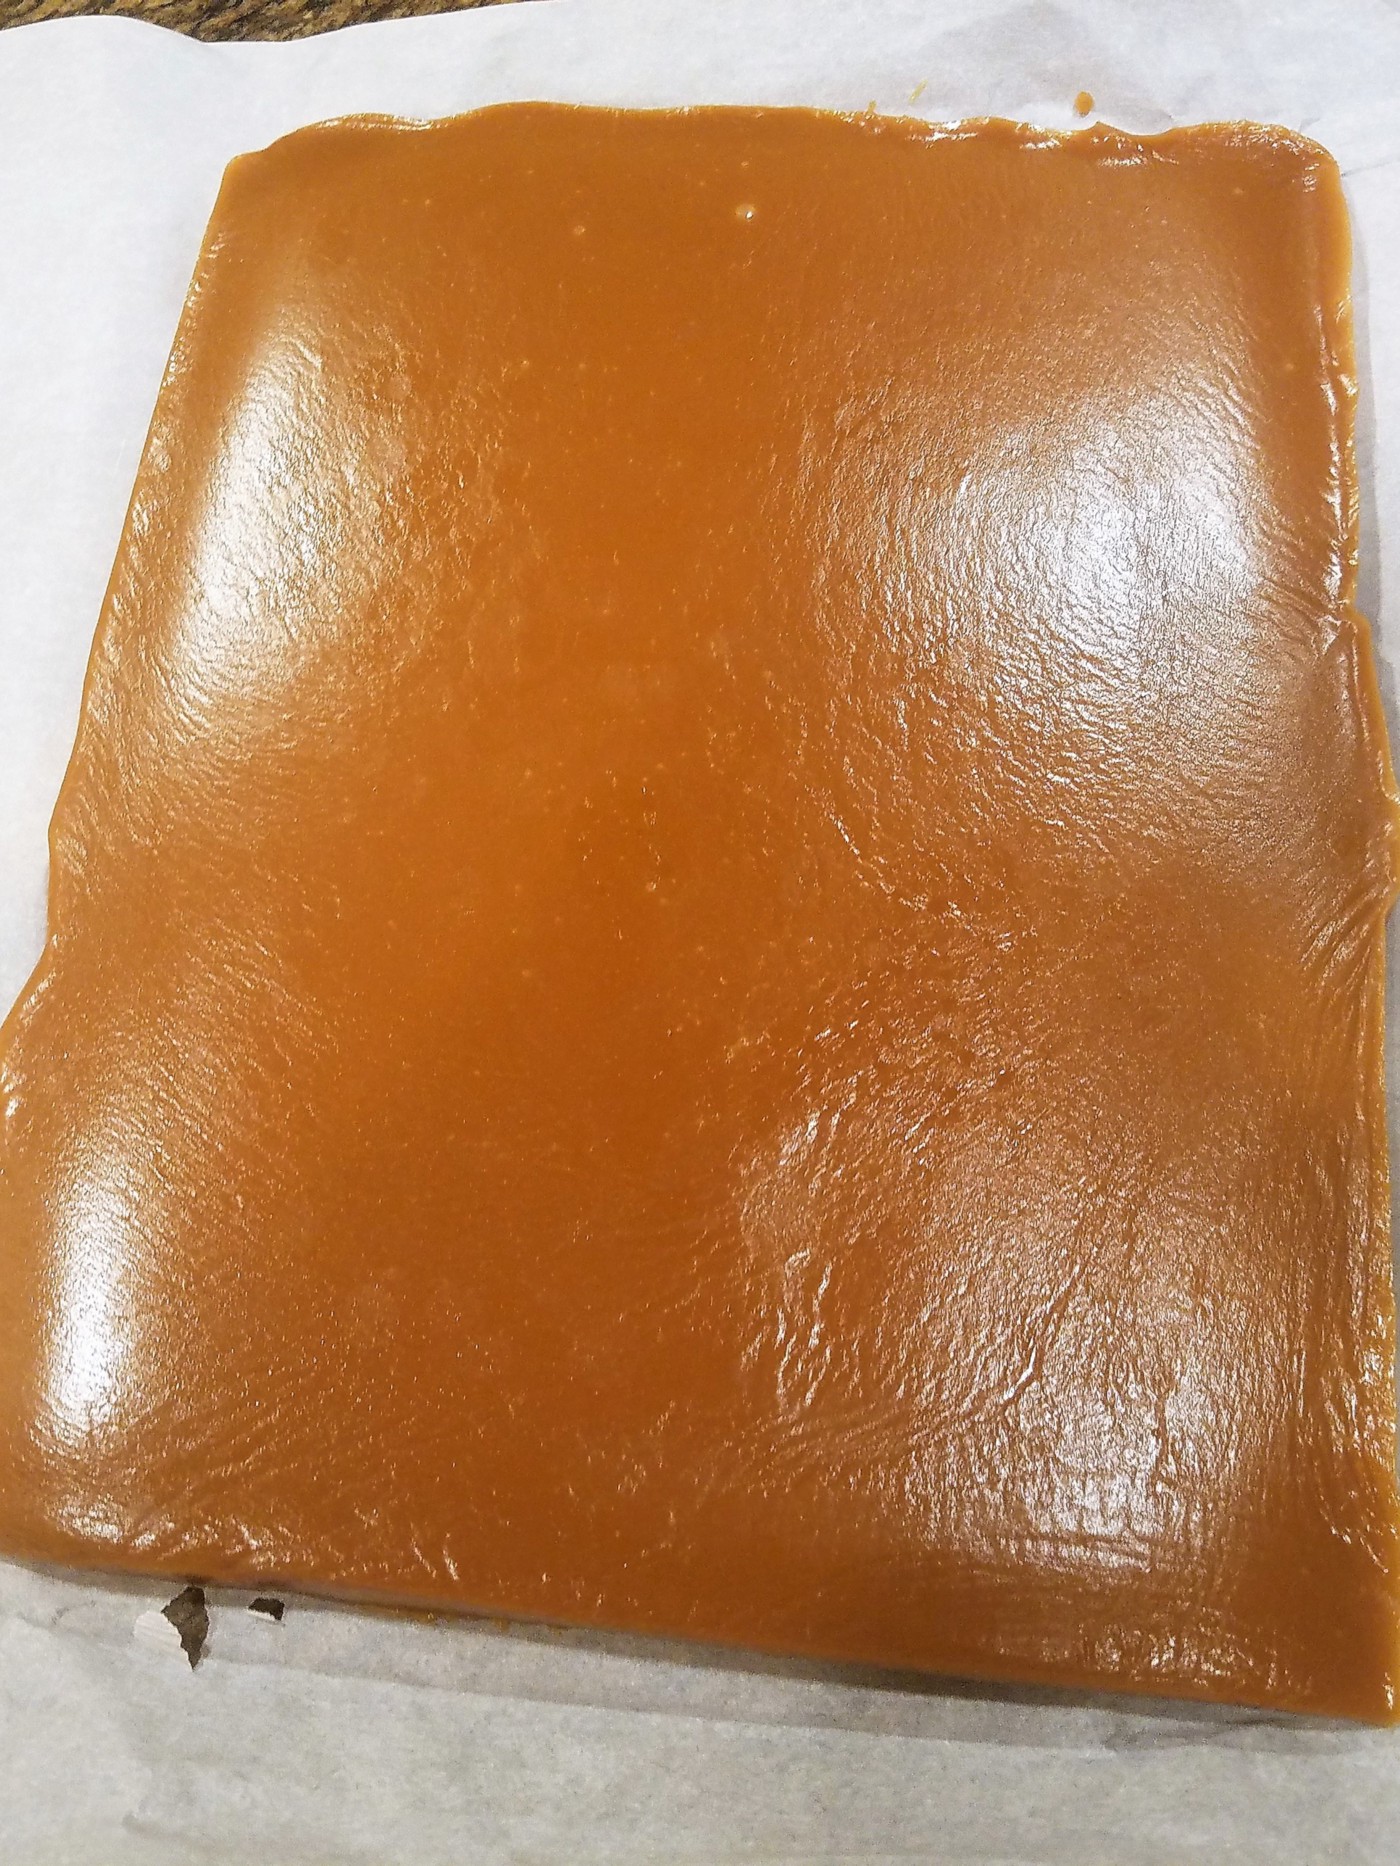 Smooth, it holds up when taken out of the pan.
If you’ve pulled out enough moisture, it should be easy enough to cut at room temperature.
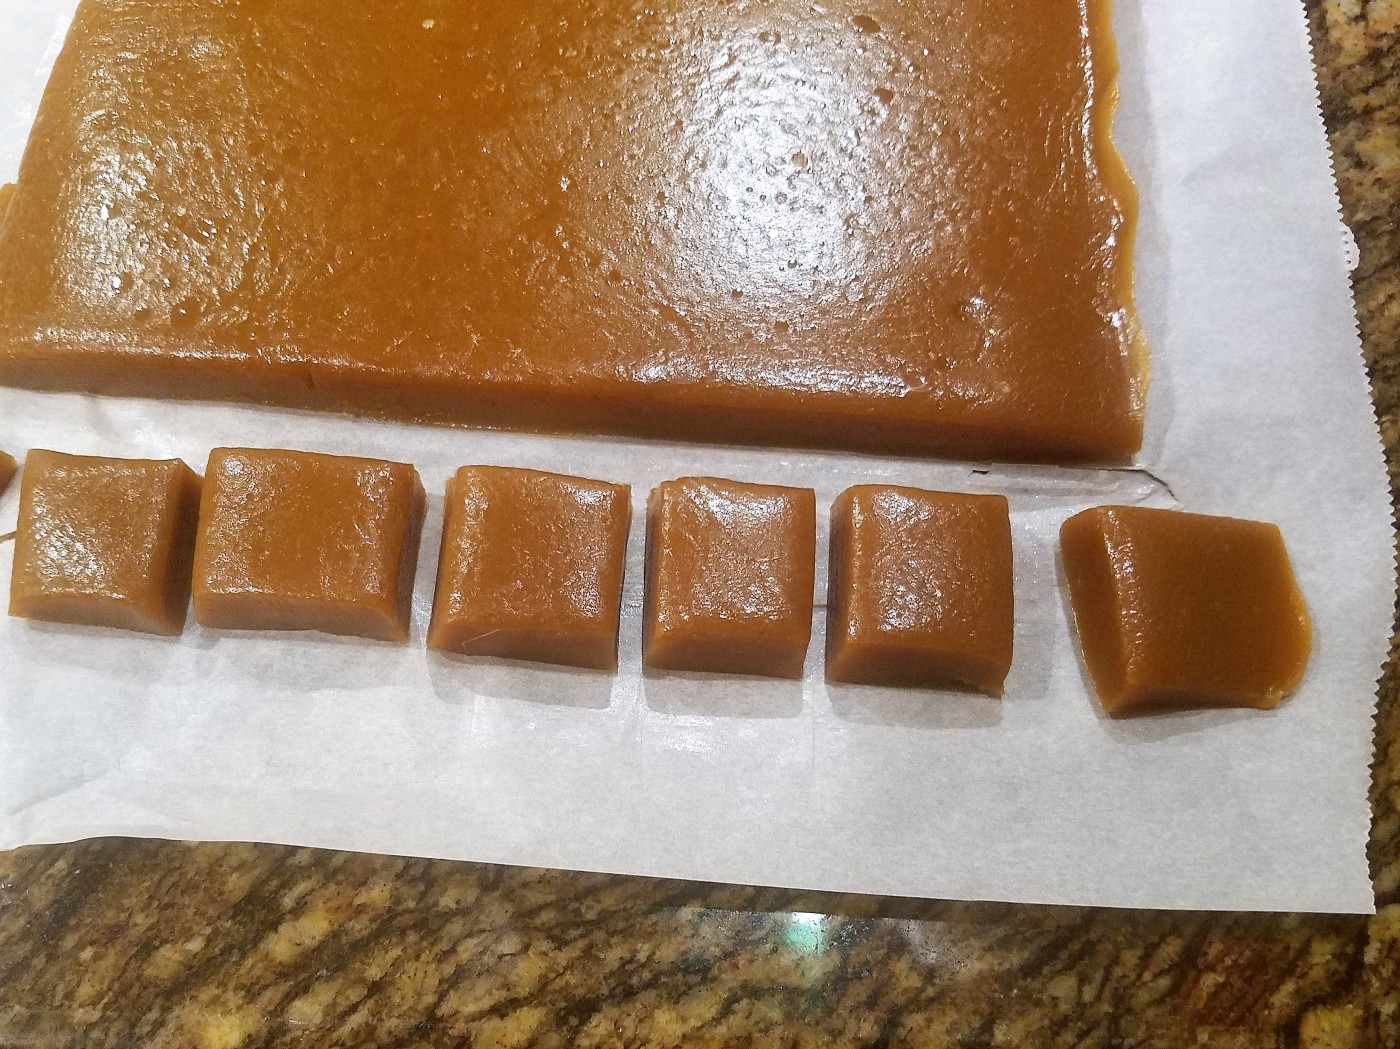 Cut into 1-inch squares
For a nice treat, you can sprinkle coarse salt on top for a tasty salted caramel.